PHOTOSHOP COLOR MANAGEMENT
COMPLETE GUIDE TO COLOR SETTINGS + ICC PROFILES
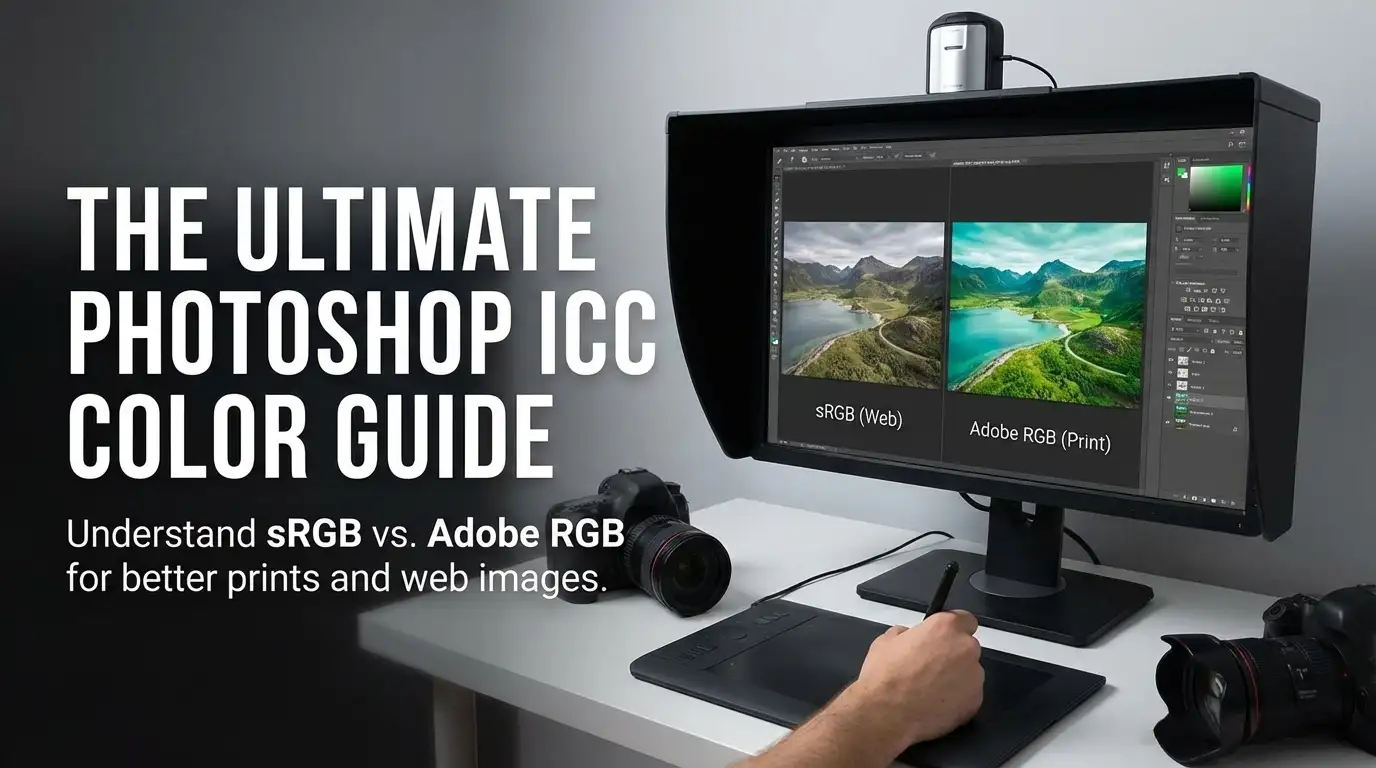
If you’ve ever noticed different colors between Photoshop and other apps, or a mismatch between screen and print, the issue is often not “the photo”: it’s how ICC profiles and color settings are handled throughout your workflow.
In this guide you’ll find a practical, consistent setup to work predictably: a calibrated monitor, embedded profiles respected, conversions performed at the right stage, and correct exports for web or print.
I’ve worked with digital images for over 20 years and managed color workflows for productions delivered to both institutional and major retail contexts. In those jobs, color consistency isn’t a nice-to-have: it’s a requirement.
Over time I’ve repeatedly had to solve the same inconsistencies you may be facing: files that “change” when moving from one app to another, unpredictable web exports, or prints that don’t match what you see on screen.
That’s why in this guide I’m sharing a practical, consistent, repeatable approach based on real-world experience: a calibrated monitor, embedded profiles respected, conversions done at the right moment, and controlled exporting for reliable results on web and print.
Quick troubleshooting (before you start)
- Colors change between Photoshop and Preview / Safari / Chrome: make sure your files have an embedded profile and that Photoshop is set to Preserve Embedded Profiles.
- “Profile mismatch” warning: in most cases choose Use / Preserve the embedded profile (not “Discard profile”).
- Print looks different from your monitor: without your printer’s ICC profile and soft proofing, results are often unpredictable.
- Monitor is too bright: if you also work for print, excessive luminance often makes you brighten files too much. Consider a calibration appropriate to your environment (e.g. 90-100 nits).
- Questions about the “monitor profile” in Photoshop: your display profile is managed by the operating system (ColorSync on Mac). In Photoshop you set working spaces and policies for documents, not the monitor profile.
Goal: a workflow where colors are accurate, predictable, and repeatable.
1. Core concepts: color profiles and color management
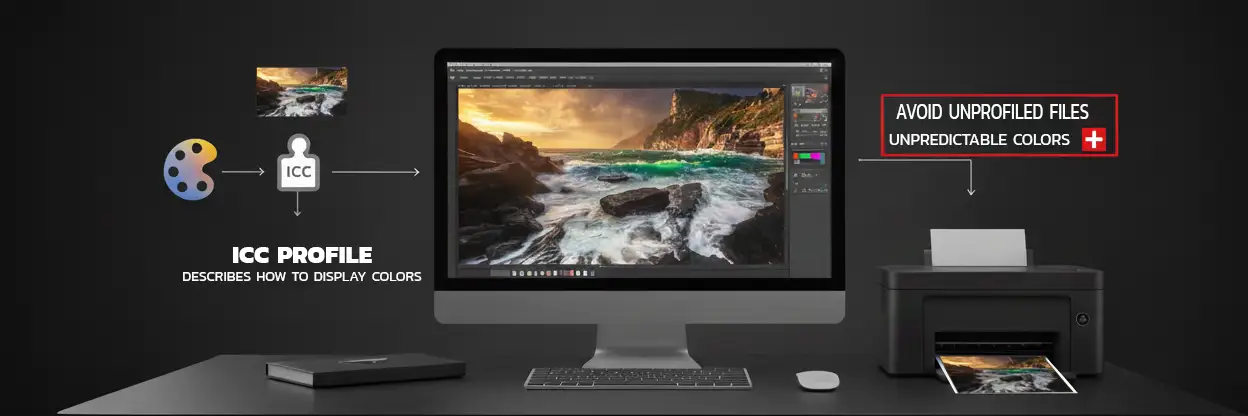 A digital file contains numbers (RGB/CMYK). A color profile (ICC) is the information that allows compatible software to interpret those numbers correctly.
Color management is the set of rules and settings that keep an image’s appearance as consistent as possible as it moves between software, monitors, and print.
Workflow note: color correction (creative/technical edits to hue/saturation/contrast) is different from color management (consistency across devices and apps). If you do heavy corrections, working from RAW (instead of JPEG) gives you more headroom and reduces destructive edits.
2. Photoshop color settings (recommended setup)
Go to Edit > Color Settings… (shortcut: CMD + SHIFT + K on Mac). The goal is to set a sensible standard and, most importantly, enable policies that prevent “profile accidents”.
- From the Settings menu choose: Europe Prepress 3.
- Under Color Management Policies set Preserve Embedded Profiles for RGB, CMYK, and Gray.
- Enable the warnings: “Ask When Opening / Profile Mismatches / Missing Profiles“.
This setup protects you from the most common issue: working on files that change appearance because a profile was ignored or replaced without you noticing.

Under Conversion Options, keep a consistent setup (Adobe engine and a rendering intent appropriate for output). In many prepress workflows it’s common to use Relative Colorimetric with Black Point Compensation, but the choice should always be validated with soft proofing and the destination profile.
3. Embedded profiles: what to choose when Photoshop warns you
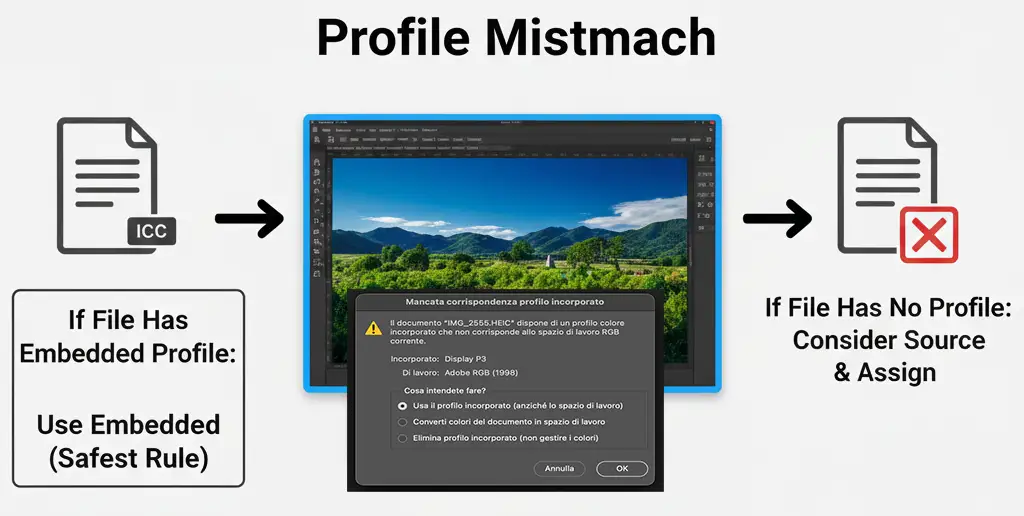
When you open a file, Photoshop may show warnings like “profile mismatch” or “missing profile”. The safest practical rule is:
- If the file has an embedded profile: generally choose Use / Preserve the embedded profile.
- If the file has no profile: consider the source (web? previous export? a file you received?) and assign/convert thoughtfully.
4. Convert Profile vs Assign Profile (a critical difference)
This is one of the most important distinctions to remember:
- Assign Profile changes the interpretation of the numbers in the file (and can visibly change how the image looks on screen).
- Convert to Profile recalculates the numbers to keep the appearance as similar as possible, but in a different color space.
When you need to prepare a file for a different output (for example print or web), the correct path is usually:
Edit > Convert to Profile… (not “Assign Profile…”).
Make sure only the layers you want to merge are visible (eye icon on).
Go to Layer > Merge > Merge Visible to New Layer (or use Shift + Ctrl + Alt + E on Windows, Shift + Cmd + Alt + E on Mac). This creates a new top layer with all visible elements merged, while keeping other layers separate and editable.
Then verify the result with soft proof/visual checks.
- Go to Edit > Convert to Profile…
- Source Space shows the current embedded profile of the document.
- Under Destination Space choose the target profile (e.g. sRGB IEC61966-2.1 for web, or your print lab ICC profile for print).
- Engine: Adobe (ACE). Intent: Relative Colorimetric.
- Enable Use Black Point Compensation.
- Click OK: the pixel values are recalculated to preserve the visual appearance in the new color space.
5. Printing: your print lab profile + soft proofing
For printing, what “rules” is the combination printer + paper + process. To get predictable results you need the correct ICC profile (provided by your print lab) and an on-screen check via soft proofing.
- Ask your printer (or check their website) for the ICC profile for the specific paper/process you’ll use.
- In Photoshop: View > Proof Setup > Custom… and select the print ICC profile.
- Use Gamut Warning to see if some colors can’t be reproduced in print.
- If needed, make targeted adjustments while always judging through the proof.
6. Camera Raw: ProPhoto RGB and 16-bit (for RAW files)
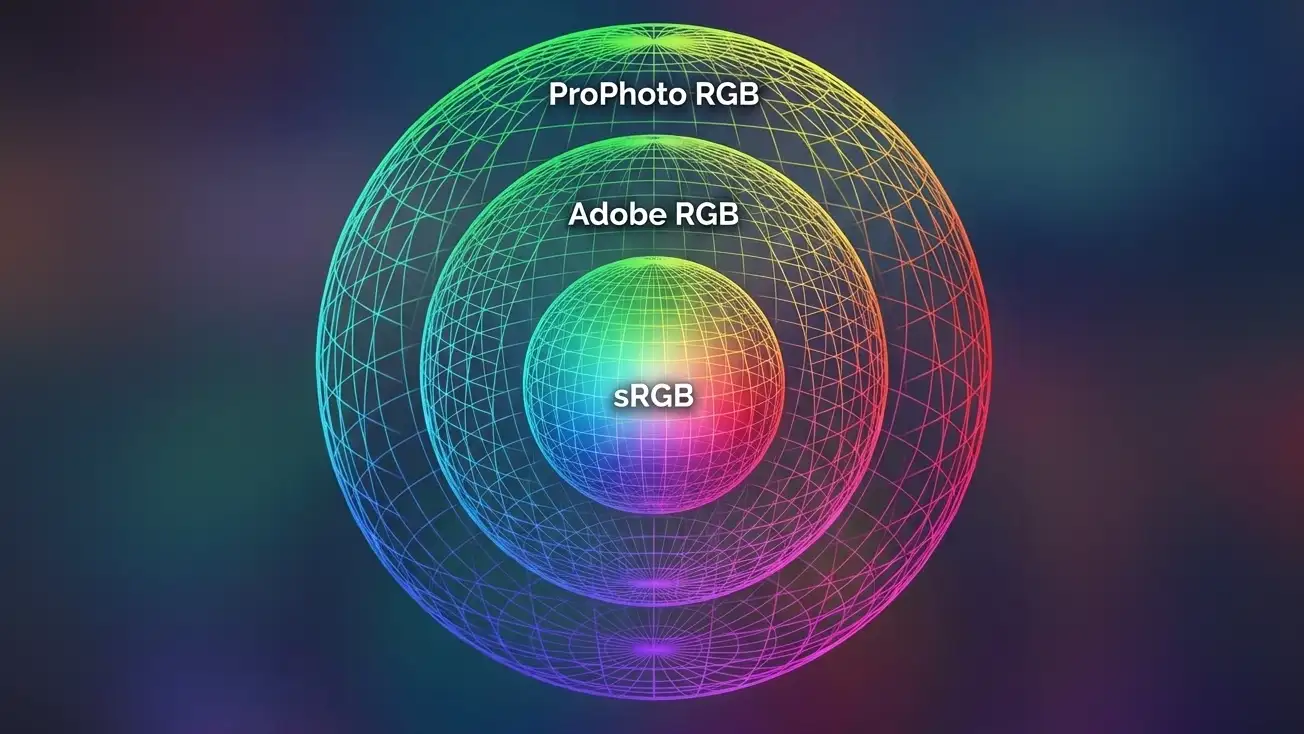
If you work on RAW files and do advanced editing, a wide gamut helps preserve smooth gradients and saturation during adjustments. In many photography workflows, ProPhoto RGB (with 16-bit) is a common choice precisely to reduce the risk of “clipping” colors too early.
- Open a RAW file (from Photoshop or Bridge) to enter Camera Raw.
- Open Workflow Options (usually the link at the bottom of the window).
- Set Space: ProPhoto RGB and Depth: 16-bit.

7. Monitor profile: where it is (and where it is NOT) – important!
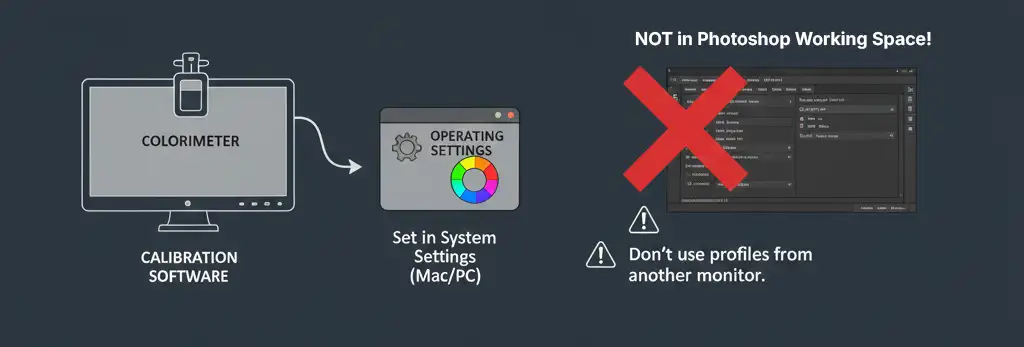 The monitor profile is not an “image profile” and it should not be set as a working space in Photoshop. It’s a profile created by hardware calibration (colorimeter/spectrophotometer) and it’s managed by the operating system to describe how your display reproduces color.
- Your monitor profile must be set in system settings (Mac/PC via color management/display settings).
- In Photoshop you set working spaces and profile policies for documents.
- Don’t use profiles “from another monitor”: each panel has measurable variations.
8. Export for web/social: sRGB + embedded profile
For web and social, the goal is maximum compatibility. In most cases:
convert to sRGB and embed the profile in the exported file.
- If exporting JPG: convert to sRGB and embed the ICC profile.
- Avoid files without a profile: on some devices colors can “drift” (i.e., be displayed incorrectly).
- Check monitor brightness: if you edit on an overly bright display, you may export files darker than expected.
FAQ – Photoshop color management
Do I really need to calibrate my monitor to use Photoshop properly?
Why do you recommend “Preserve Embedded Profiles”?
What’s the most common mistake between “Assign” and “Convert”?
Should I set Adobe RGB on my monitor too?
For printing, is a “standard CMYK” in Color Settings enough?
Why do colors look different on the web across devices?
Photoshop color management is not a set of “magic settings”: it’s a workflow built on consistency (profiles), control (warnings enabled), and verification (soft proof / print).
Setting it up properly takes a few minutes, but saves hours of unnecessary fixes and reduces the risk of unexpected results.
Before setting up Photoshop correctly, make sure your monitor is calibrated and profiled for accurate, reliable color.
How to calibrate the MacBook Pro Mini-LED XDR display: Display calibration guide
Read also: Guide to sRGB vs Adobe RGB vs ProPhoto RGB
Questions about your color workflow?
If something feels off (Photoshop vs Preview differences, darker prints, profile warnings, “weird” web exports), write to me below.
To help you better, include Mac/Windows, your Photoshop version, and your intended output (web or print).